
Wooden Model Desk Setup: Lighting, Tools & Display Tips
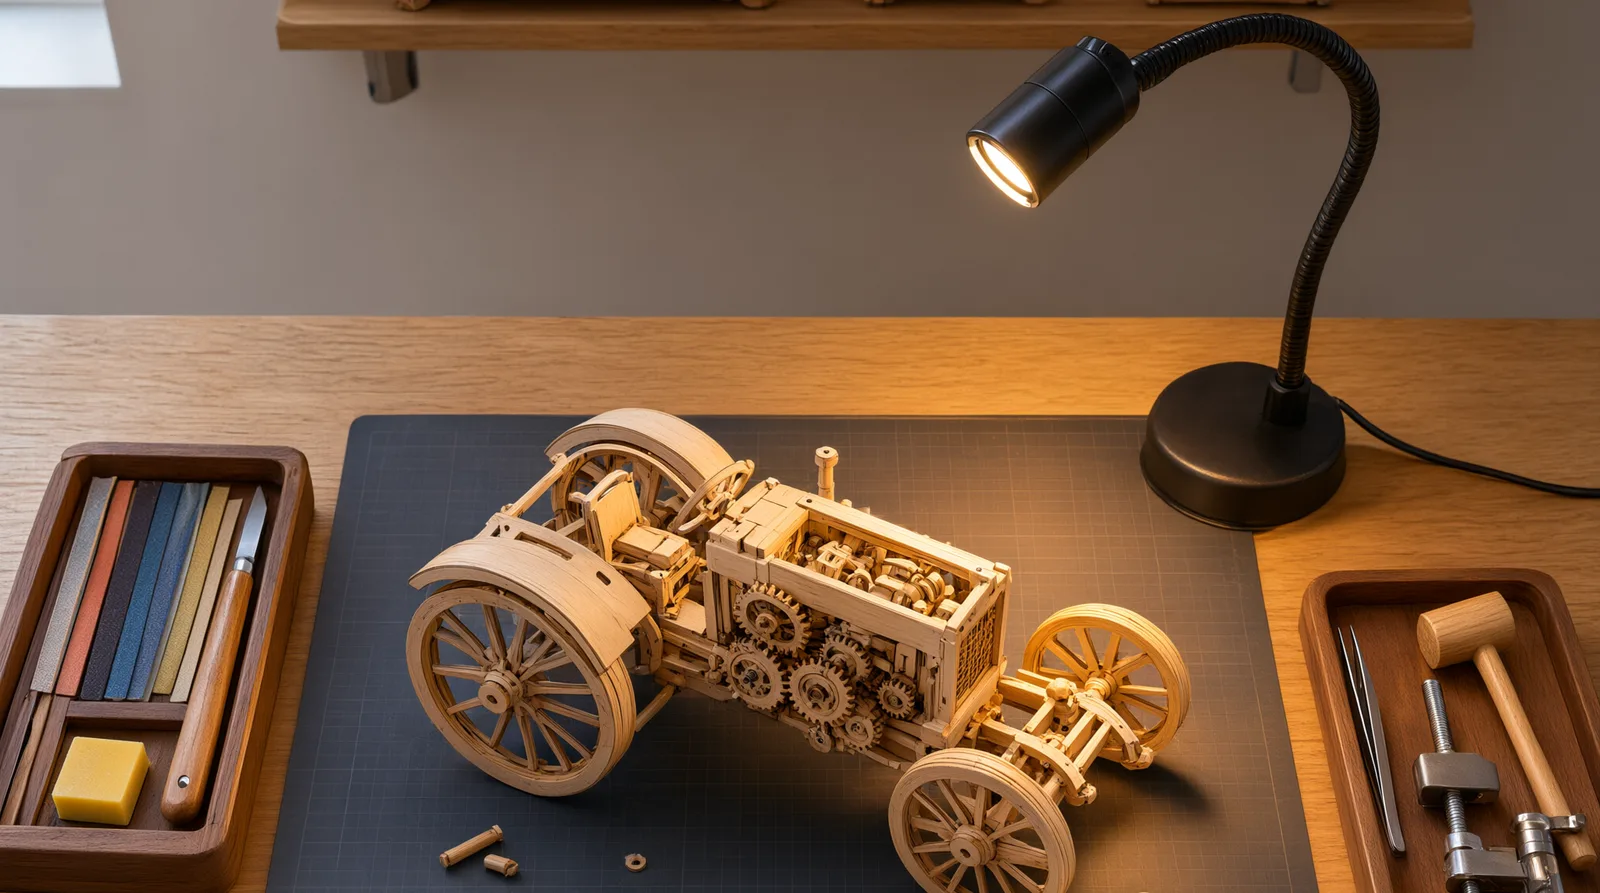
Building a mechanical wooden puzzle is a process that demands focus, precision, and space. A scattered setup on the kitchen table often leads to lost pins, poor lighting, and finished models that get shoved into a drawer. Creating a dedicated wooden model desk setup isn’t just about organization—it’s about giving these intricate kits the workspace they deserve, so every gear, axle, and joint comes together perfectly.
Whether you’re assembling a detailed tractor model or a complex marble run, the right tools, lighting, and display strategy turn a simple build into a satisfying ritual. Here’s how to craft a workspace that elevates both the building experience and the final result.
Setting the Stage: Choosing the Right Desk and Surface for Your Wooden Model Desk Setup
- A stable, flat desk is key—aim for at least 40 cm by 60 cm of clear work area so you can spread out part sheets, instructions, and tools without crowding.
- A light-colored or matte desktop surface makes it much easier to spot tiny wooden pins, gears, and alignment marks. Lay down a self-healing cutting mat to protect both the desk and the delicate plywood pieces during sanding or trimming.
- If possible, keep the desk dedicated to building. Leaving a project in progress means you won’t mislay crucial components or risk a half-assembled model getting bumped.
- Position the desk near a wall or shelf—this gives you quick access to tools and creates a natural display zone for finished models later.
The Right Light: Illuminating Intricate Wooden Details
- Invest in an adjustable LED task lamp with a high Color Rendering Index (CRI) of 90 or above. This reveals the subtle wood grain, number markings, and slot alignment details that cheap bulbs wash out.
- A lamp with dimmable brightness and color temperature control (around 4000K to 5000K) lets you dial in a neutral, eye-friendly light that keeps fatigue at bay during long sessions.
- Position the light source to the side or slightly above the front of your work—this minimizes shadows cast by your hands or larger model sections, so you always see the connection points clearly.
- For extremely fine parts like miniature gears or millimeter-scale pins, a magnifying lamp or clip-on lens pays for itself by letting you inspect gear tooth engagement and fit up close.
Tool Organization: Keep Your Stash Within Arm’s Reach
An organized desk keeps your flow uninterrupted. Start by assembling a core toolkit that covers the common needs of most wooden mechanical puzzles.
- Fine-grit sandpaper (320–600 grit) for smoothing burrs on laser-cut edges without rounding over critical joint details.
- Dry lubricating wax (like candle wax or a purpose-made block) to ease gear movement and reduce friction in kinetic assemblies.
- Fine-tipped tweezers for handling the smallest pins and axles—choose a pair with a non-slip grip.
- Small rubber clamps or clamping tweezers to hold glued joints steady without marring the wood.
- A craft knife with fresh blades for precisely removing parts from sheets and trimming leftover tabs.
How you store these tools matters. Shallow wooden trays, a magnetic strip on the wall, or a small pegboard keep everything visible and instantly grabbable. A tacklebox or small compartmented container prevents the inevitable loss of a tiny axle when you need to pause a build. Browsing Logicwoody’s 3D Wooden Puzzles collection can also inspire which tools you’ll want for your next mechanical challenge.
From Workspace to Showpiece: Displaying Your Finished Wooden Models
The desk isn’t just a build station—it’s the home base for your growing fleet of wooden models. To turn them into a motivating display, think vertically. Install open shelving or a narrow floating ledge directly above the desk so completed builds sit at eye level while keeping your work surface clear.
Dust is the enemy of kinetic sculpture. Closed display cases with clear acrylic doors or classic glass domes keep mechanical moving parts clean and functional, especially for models with exposed gears like the Wooden Ferdinand Puzzle or the agricultural muscle of the Wooden Belarus 82.3 Tractor with Plow. A focused LED spotlight or a strip light inside the shelf highlights the intricate laser-cut wood grain and brings those moving mechanics to life.
Rotate your display every few months—swap in a forage harvester or a retro telephone to keep your workspace feeling fresh and to remind you of the next build you’re excited to tackle.
Ready to build a workspace worthy of your next project? Explore the full 3D Wooden Puzzles collection and find a model that deserves a spotlight on your newly dialed-in desk.
Frequently asked questions
What size desk is best for wooden model building?
A stable desk with at least 40 cm by 60 cm of clear work area allows you to spread out part sheets and tools. A light-colored matte surface helps spot small wooden pins, and a self-healing cutting mat protects both desk and model.
What type of lighting should I use when assembling wooden puzzles?
An adjustable LED task lamp with a CRI of 90+ and color temperature around 4000K–5000K reduces eye strain and reveals fine details. Consider a magnifying lamp or clip-on lens for extremely small parts.
Which tools are essential for a wooden model desk setup?
Fine-grit sandpaper, dry lubricating wax, fine-tipped tweezers, small clamps, and a craft knife are must-haves. Keep them organized in shallow trays, on a magnetic strip, or in a tackle box to stay efficient.
How do I protect finished wooden models from dust?
Use a display case with clear acrylic doors or a glass dome. Shelf lighting inside the case highlights details while a sealed enclosure keeps dust off gears and moving parts.
How can I display my models without cluttering my desk?
Install open shelving or floating ledges directly above the desk so completed models stay at eye level without cluttering the work surface. Rotate models every few months to keep the display fresh and motivating.