
Build a Wooden Pirate Ship Model Kit: Sovereign of the Seas
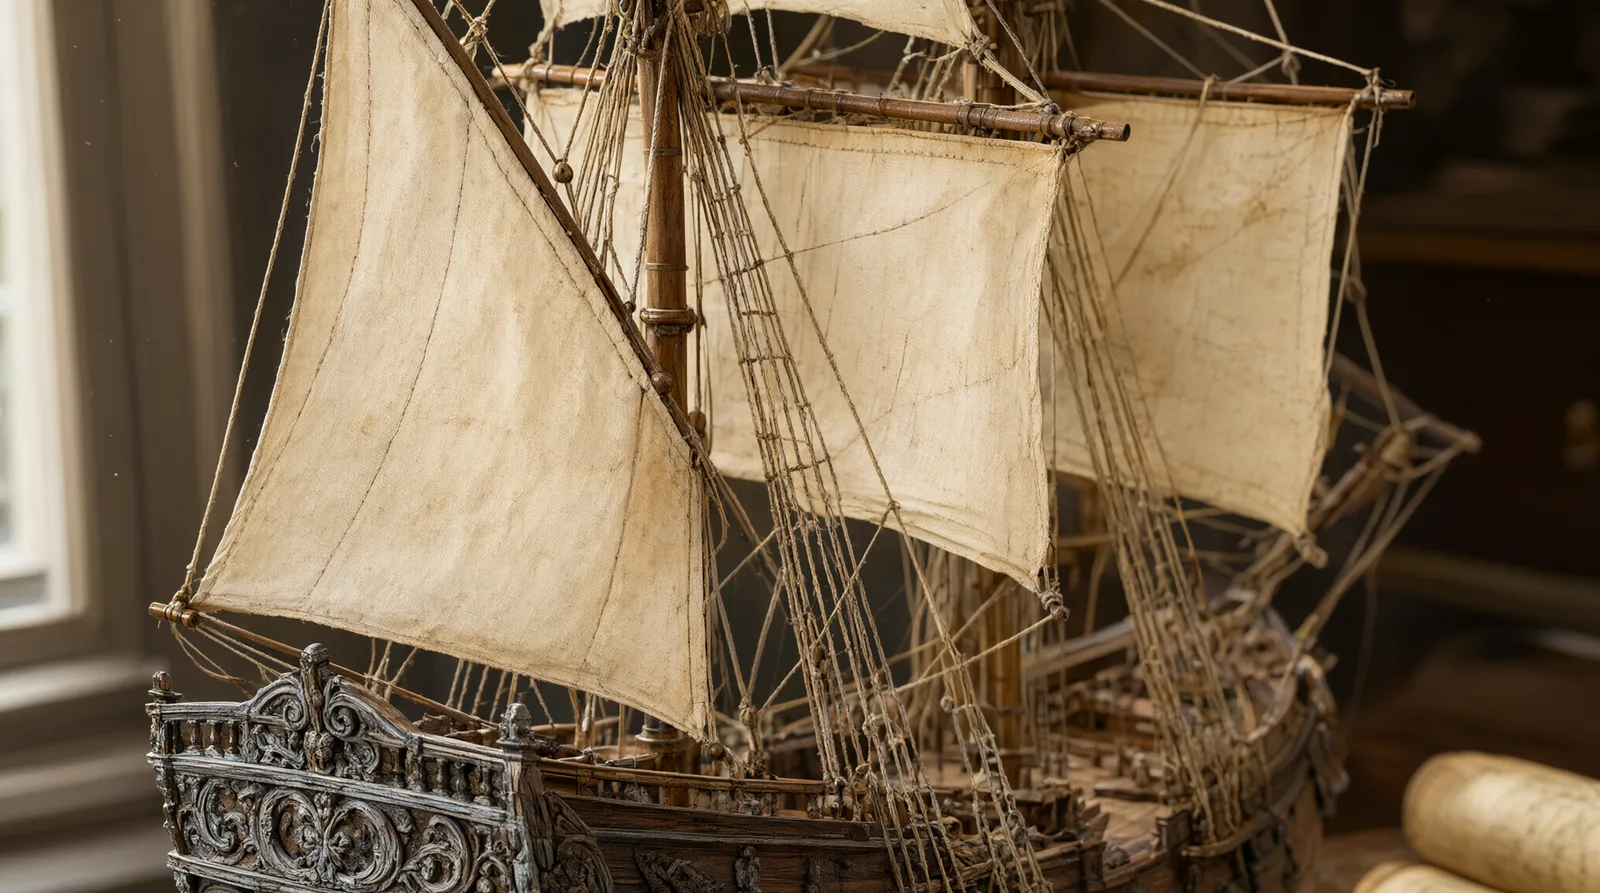
Few projects capture the romance of the high seas quite like a meticulously finished wooden pirate ship model kit. The wooden Sovereign of the Seas puzzle from Logicwoody lets you build a detailed galleon that echoes the real 17th-century English warship, and with the right painting and weathering techniques, you can turn it into a museum-worthy display that feels plucked from the golden age of piracy.
Why the Sovereign of the Seas Wooden Pirate Ship Model Kit Evokes Real Pirate History
The 17th-century Sovereign of the Seas was a three-deck first-rate ship of the line, bristling with cannon and crowned by towering stern castles. This laser-cut wooden model captures those details vividly:
- Multiple decks and open gunports mimic the silhouette of historic galleons that dominated the Caribbean and Atlantic.
- High stern castle and ornate trim reflect the grandeur of naval architecture that later pirate ships emulated.
- Tactile assembly of the interlocking wooden pieces mirrors old-world shipbuilding craftsmanship—every plank and joint fits together like a miniature dry dock.
Completing this puzzle connects you directly to the golden age of sail, not as a simple toy but as a tangible artifact. The enduring fascination with such models is clear even in modern retrospectives; a 2026 piece on ComicBook.com highlighted vintage Disney pirate ship model kits that predated the blockbuster films, proving how deeply wooden pirate ships capture our imagination.
Pre-Assembly Prep for the Best Paint Adhesion
Raw laser-cut wood has a slight char and a smooth but porous surface. To make paint grab without warping thin parts, start with these steps before you pick up a brush.
Lightly sand every edge and flat surface with fine-grit sandpaper (320–400 grit). This removes the laser-char and opens the grain just enough for paint to bite. Wipe every piece with a tack cloth or damp microfiber to eliminate dust—any residue will cause lumps later.
Apply a thin coat of sanding sealer or clear wood primer. Bare wood behaves like a sponge; sealing prevents it from soaking up too much paint and warping the intricate mechanical arms or hull panels. Let it dry fully and sand very lightly again for an ultra-smooth base. Keep moving mechanisms unglued: the Sovereign of the Seas puzzle includes interactive elements like rotating parts or rigging, so mask any pegs, gears, or slots that must move freely after painting.
Layering Paint for a Weathered Hull and Deck
The goal is not a pristine, plastic-like finish—you want a ship that looks like it’s battled salt and sun for decades. Highly thinned acrylic washes let the natural wood grain remain visible, adding depth that opaque coats can’t.
Begin with the hull: brush on a dark walnut or chocolate brown base, thinned with water until it flows like milk. Let it seep into every plank line and recess. Once dry, dry-brush a lighter tan or grey-beige across the raised surfaces and edges to simulate planks bleached by years of tropical sun. This two-tone effect instantly ages the hull. For a deeper dive into dry-brushing and wash consistency on wood, see our guide to painting wooden model kits.
Fabric sails come to life with similar restraint. Avoid stark white. Mix off-white or cream acrylic, then brush a weak wash of raw umber over the cloth—the pigment settles into the weave, creating the look of old canvas that has seen years of sea spray. Set the sails aside to dry without creasing.
Weathering Tricks for an Age-of-Sail Patina
True maritime character comes from controlled decay. A few simple techniques can add flaking paint, rust, and the kind of grime that tells a story.
Salt chipping is a low-tech favorite: spray or brush a light rust-colored base (burnt sienna and a touch of orange) over the hull in select areas. While it’s still tacky, sprinkle coarse salt crystals over the surface. Once dry, apply your main hull color right over the salt. When that layer cures, use a stiff brush to flick away the salt, revealing irregular chipped patches of “rust” beneath—perfect for areas around the anchor and gunports.
Sponge stippling adds texture: dab a sponge barely loaded with dark brown or a hint of orange around metal-look details like the cannon muzzles and the anchor. The random pattern mimics salt corrosion and worn iron. Finally, seal everything with a matte varnish into which you’ve mixed a single tiny drop of burnt umber ink. This unifies the piece with a gentle, all-over aged filter that wood accepts beautifully, deepening the shadows without looking painted-on.
Final Rigging and Display to Complete the Vintage Look
Kit-supplied string often looks too new and uniform. For authentically uneven rigging, replace it with cotton thread dyed in strong black tea or coffee. Soak the thread, let it dry in loose coils, and it will carry subtle stains that imitate old hempen rope exposed to tar and weather.
Rig the standing and running lines as the instructions direct, but take care to keep any moving mechanical parts free—test the ship’s interactive features before you call it finished. A drop of dry lubricant on pivot points can help if paint has crept in.
Present your finished ship like a museum piece. Mount it on a simple stained oak plank, adding a small brass nameplate with “Sovereign of the Seas 1637” engraved. The contrast of warm wood, aged metal, and time-worn paint will anchor any shelf or desk with true maritime presence.
Ready to craft your own piece of nautical history? Browse our entire 3D wooden puzzles collection and find the ship that sails right into your workshop.
Frequently asked questions
What kind of wood is the Sovereign of the Seas puzzle made from?
The kit is crafted from durable laser-cut plywood, typically high-quality birch or basswood. Its interlocking design means no glue is required for structural assembly, but paint and sealers will adhere well once the surface is prepared as described.
Do I need to paint the model, or can I leave it unfinished?
Yes. The model looks impressive bare, but painting and weathering give it the historical, antique character of an actual galleon. You can still apply a clear matte sealer to protect the raw wood if you prefer the natural look.
Are the sails included, and can they be replaced?
The kit includes fabric sails. You can age them with a weak wash of off-white and umber as recommended, or replace them with custom linen or cotton fabric cut to the same shape for an even more personalized look.
Is the Sovereign of the Seas kit suitable for beginners?
This is an intermediate-level puzzle. The mechanical assembly requires patience, but the step-by-step instructions are clear. If you've built a few wooden models before, you’ll feel right at home. Beginners should take their time with the pre-paint prep.
How do I keep the moving parts working after painting?
Mask any joints, gears, or slots with painter’s tape before priming and painting. After painting, remove the tape and gently work the mechanisms. If any paint has entered, a tiny amount of dry lubricant can restore smooth action.